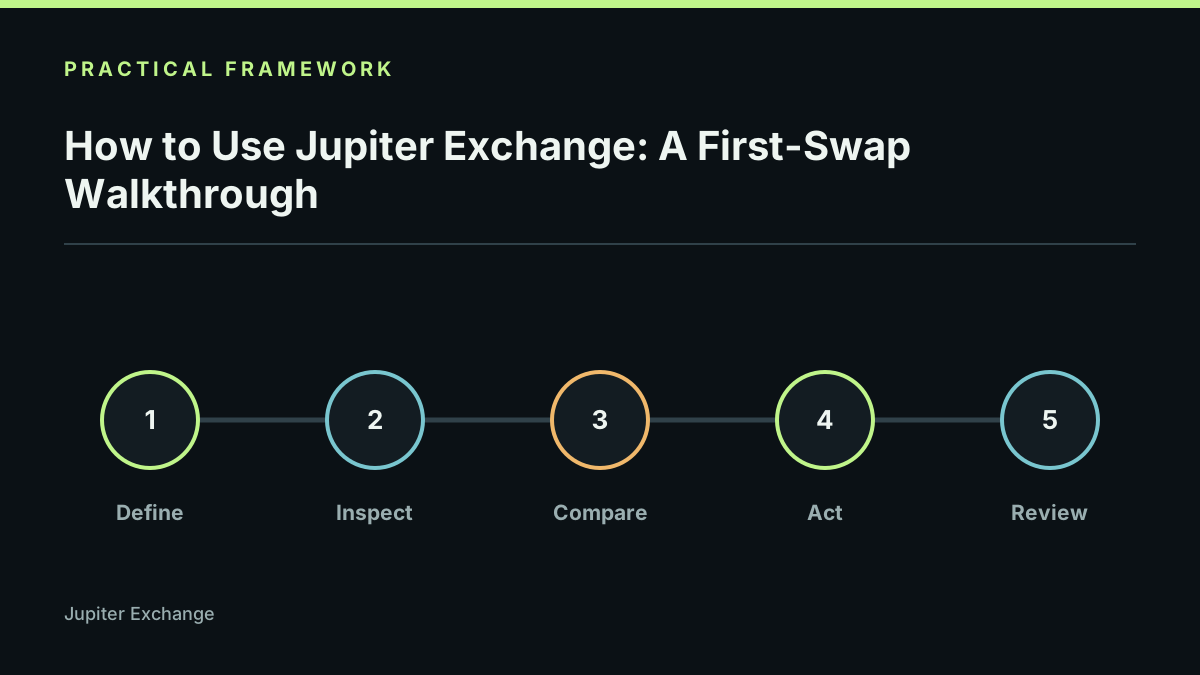
To use Jupiter Exchange responsibly, verify the official interface, choose the exact input and output assets, inspect the quote, and review the wallet transaction before signing. A first swap should be small enough that an operational mistake is survivable. Read the Jupiter Exchange guide for the wider product map.
1. Prepare the wallet
Use a wallet you control, keep the recovery phrase offline, and fund only the network fee and test amount you need. Check the domain and wallet network. Never accept a support message that asks for your seed phrase or a remote screen-control session.
2. Select exact assets
Search by mint or a trusted project link, not only by ticker. Confirm input, output, decimals, and whether the token is native, wrapped, or a derivative. If you cannot verify the identifier, stop before a quote is signed.
3. Read the quote
Check route, output amount, price impact, fees, slippage tolerance, minimum received, and expiry. Jupiter Exchange fees explains which numbers belong to the route, the network, or a platform. A quote is an estimate until the transaction confirms.
4. Review and sign
Read the wallet prompt, program and account details, amount, and fee. Reject unexpected approvals or a destination you did not choose. After signing, save the signature and confirm the final token balance on the network.
If it fails
Do not increase slippage repeatedly. See Jupiter swap failed for route, liquidity, network, and token restrictions to check. A failed transaction can still consume a network fee.
Limits and responsible use
Interface labels, routes, fees, supported assets, and wallet behavior can change. This is a read-and-review workflow, not a trading recommendation. Last reviewed 2026-09-21.